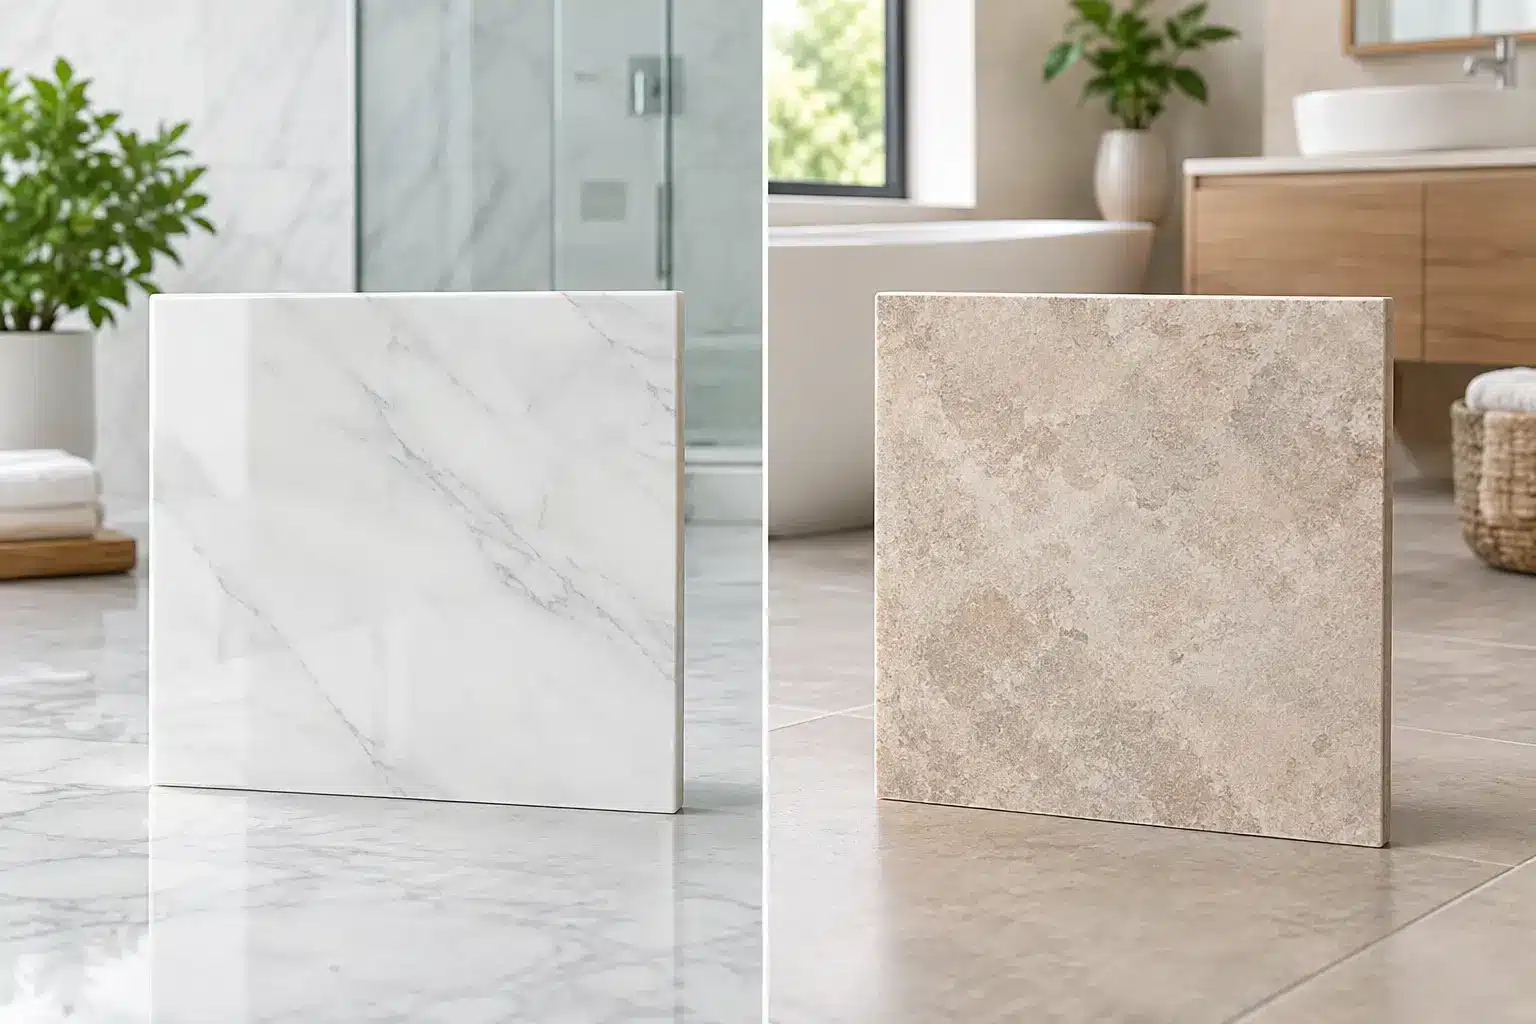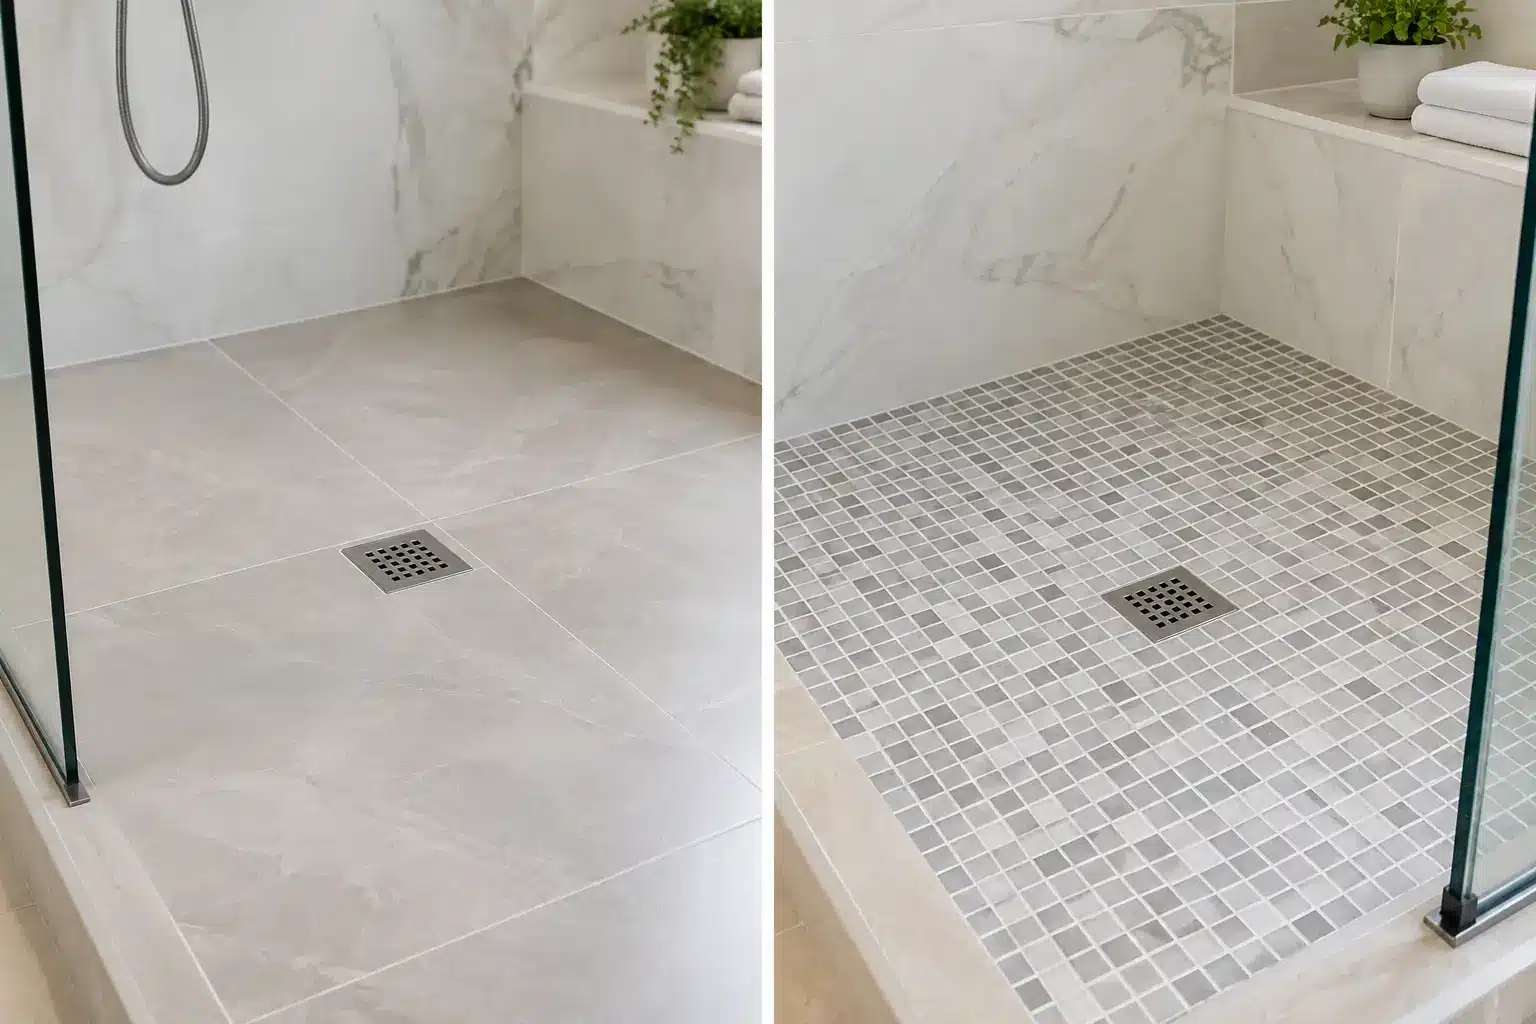
A beautiful tile shower can hide a costly problem for years. Tile, grout, and caulk create the finished look, but they are not the waterproofing system. Water can pass through grout joints, corners, and small cracks in caulk. The layer that protects the framing, subfloor, and rooms below sits behind the tile and beneath the shower floor.
So, how is a tile shower waterproofed—and how can you tell it was done correctly? The answer comes down to a continuous system: proper slope, correctly integrated drain details, waterproof membranes at every wet surface, and testing before tile is installed. Each part has to work with the next. A high-end tile selection cannot compensate for a missed seam at the shower pan or an improperly sealed niche.
How Is a Tile Shower Waterproofed?
A properly built shower starts with a stable substrate. Walls may be prepared with approved cement board, foam backer board, or another manufacturer-approved shower panel. The shower floor is formed to slope toward the drain before waterproofing begins. This slope matters because waterproofing should guide water to the drain, not allow it to collect under the tile where it can lead to odors, staining, and prolonged moisture exposure.
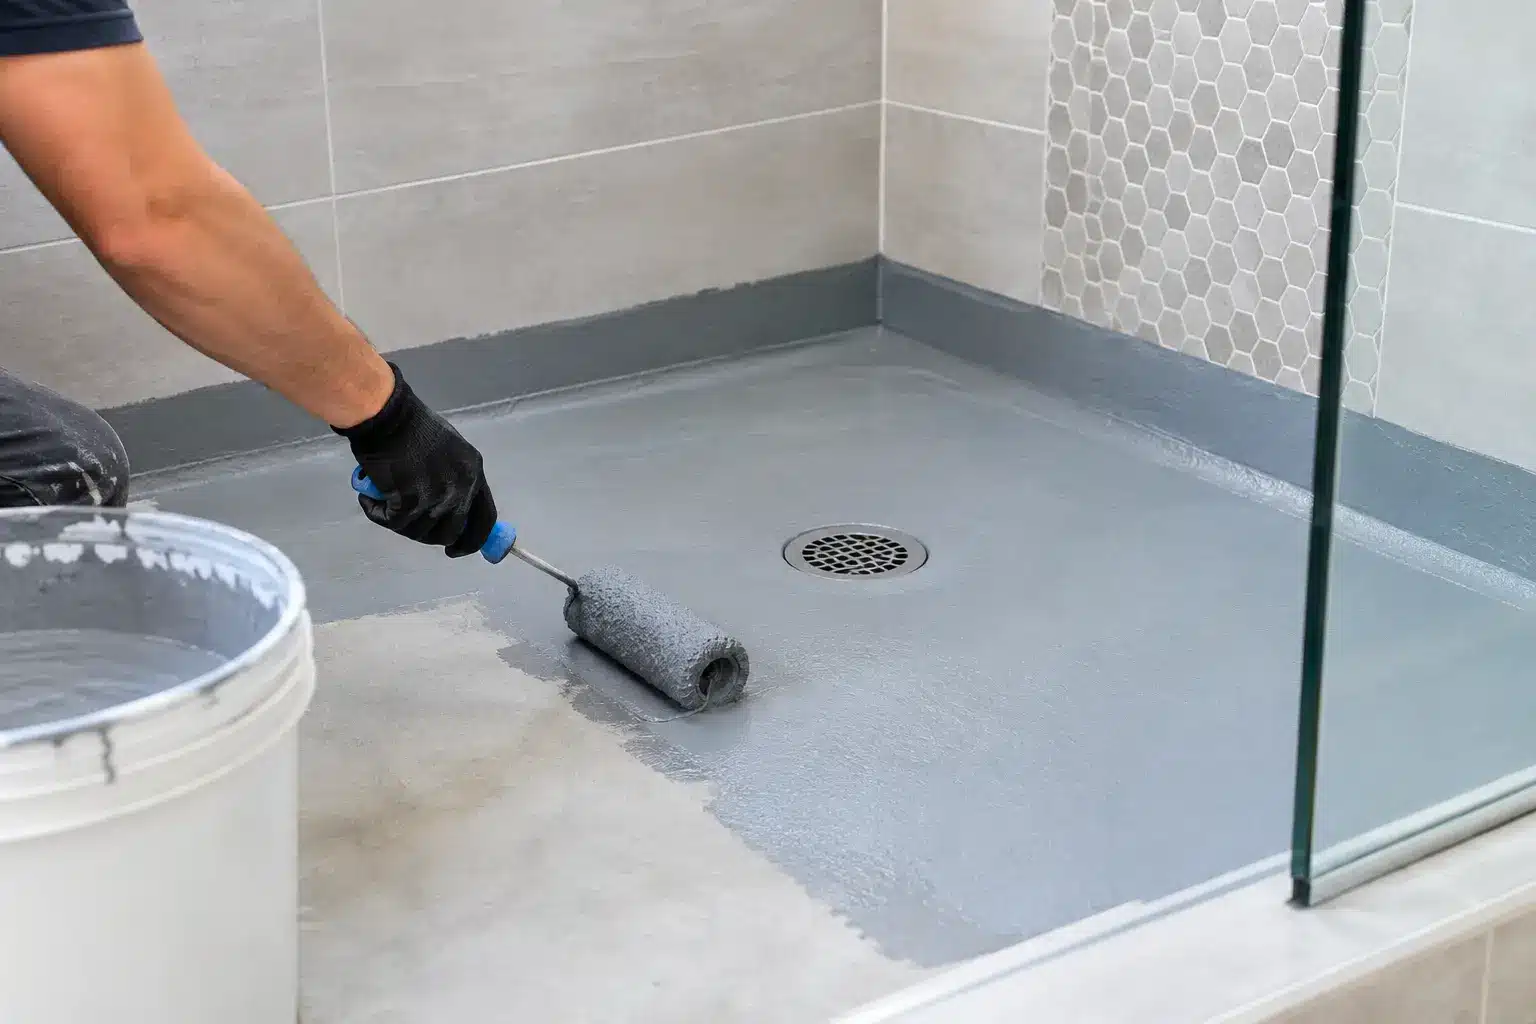
The waterproofing itself is usually created with either a sheet membrane or a liquid-applied membrane. Sheet membranes are factory-made waterproof layers that are bonded to the shower walls and floor, with seams, corners, and penetrations sealed using compatible materials. Liquid membranes are rolled, brushed, or troweled onto the prepared surface, then allowed to cure to the required thickness. Both approaches can perform well when installed as a complete, manufacturer-approved system.
The critical word is complete. Waterproofing must continue across the shower floor, walls, curb, corners, bench, niche, and the connection around the drain. It is not enough to waterproof the walls while treating the shower pan as a separate afterthought. Every change in plane and every penetration for plumbing fixtures needs careful detailing.
The drain connection is where systems succeed or fail
The drain is one of the most important parts of the assembly because every drop of water needs a clear path out of the shower. Modern surface-waterproofed showers typically use a bonding-flange drain that connects directly to the membrane at the surface. Water that reaches the waterproofing layer can then move immediately toward the drain.
A traditional mortar-bed shower uses a different assembly. It generally includes a sloped pre-pan, a PVC or CPE liner, a clamping drain, and a final mortar bed above the liner. In this method, the liner must turn up the walls and over the curb correctly, and the drain’s weep holes must remain open. If they are blocked by mortar or debris, water can become trapped in the bed.
Neither system is automatically better in every situation. A surface-applied membrane can reduce retained moisture and works especially well with linear drains, benches, and custom layouts. A traditional liner system can also perform reliably when built by an experienced installer. The concern is mixing components or skipping required steps, not simply choosing one method over another.
Walls, niches, benches, and curbs need the same protection
Leaks often begin at the details, not in the middle of a wall. A recessed shampoo niche, for example, needs waterproofing on its bottom, sides, back, top, and corners. Its bottom should also slope slightly outward so water does not sit against the back wall.
Benches and curbs deserve the same level of attention. A shower bench should be fully waterproofed and pitched toward the drain. Curbs should not be punctured through the top or interior face with fasteners after the membrane is installed. Even a single screw in the wrong location can create a direct path for water into the framing.
The waterproofing should extend beyond the shower opening where the design calls for it, particularly in curbless showers. These layouts can be elegant and accessible, but they require thoughtful floor slope, drain placement, and transition detailing. In a bathroom remodel, these decisions should be resolved before tile installation, not improvised at the finish stage.
How Can You Tell a Tile Shower Was Waterproofed Correctly?
The easiest time to verify waterproofing is before tile covers it. Homeowners do not need to manage the installation themselves, but they should expect clear communication and documentation at key milestones. Photos of the membrane, corners, drain connection, niche, curb, and plumbing penetrations provide useful records before the finish work begins.
A flood test is another meaningful checkpoint. Once the shower pan and drain connection are waterproofed, the drain is temporarily plugged and the pan is filled with water to a marked level. After the required test period, the water level should remain stable, with no signs of leakage below or around the shower. Local inspection requirements can vary by project and jurisdiction, but a flood test is a practical quality-control step even when a particular permit path does not require one.
If tile is already installed, verification becomes less direct. You cannot see the membrane without opening part of the shower, and a shower can look polished while hiding poor waterproofing. Still, there are signs that deserve attention:
- Persistent dampness, staining, peeling paint, or swelling baseboards outside the shower may indicate moisture escaping the assembly.
- A musty odor that returns after cleaning can point to chronic moisture retention, although plumbing leaks and ventilation issues can cause similar symptoms.
- Cracked grout or failed caulk is not proof of a waterproofing failure, but it should be repaired promptly and evaluated in context.
- Loose floor tile, darkened grout near the drain, or water that pools away from the drain can suggest slope or drainage problems.
These symptoms do not always mean the entire shower needs replacement. A failed surface seal around a door, plumbing trim, or corner may have a more limited repair. But when moisture has reached framing or the shower pan has failed, patching grout alone will not solve the underlying issue.
Questions to ask before tile goes up
The right contractor should be able to explain the waterproofing plan in plain language. Ask which membrane system will be used, how it connects to the drain, and how seams and corners will be treated. Ask whether the shower pan will be flood tested and whether you will receive progress photos before tile installation.
It is also reasonable to ask how the shower floor will be sloped, how the niche and bench will be pitched, and how the curb or curbless entry will be protected. Clear answers are a good sign. Vague assurances that grout or cement board will “keep water out” are not.
For Los Angeles homeowners, it is also worth confirming who is coordinating the sequence between plumbing, waterproofing, tile setting, and inspections. Shower failures frequently result from a handoff problem: one trade assumes another trade handled a detail. A licensed general contractor who manages the work end to end can establish accountability before the walls are closed and the tile is installed.
Waterproofing Is the Part You Should Never Have to See
The best waterproofing work is invisible once the shower is complete. What you should notice is a clean drain line, tile that sits flat, properly sloped horizontal surfaces, crisp transitions, and a shower that performs without musty odors or unexplained moisture nearby.
At Precise Building and Restoration, we approach bathroom remodeling as a coordinated construction process, not just a finish upgrade. The goal is a shower that looks refined on day one and protects the home behind the tile for years to come.
Before committing to tile, make sure the waterproofing plan is specific enough to inspect, test, and document. Call Precise Building and Restoration at 310-606-2222 to discuss your bathroom remodel.