
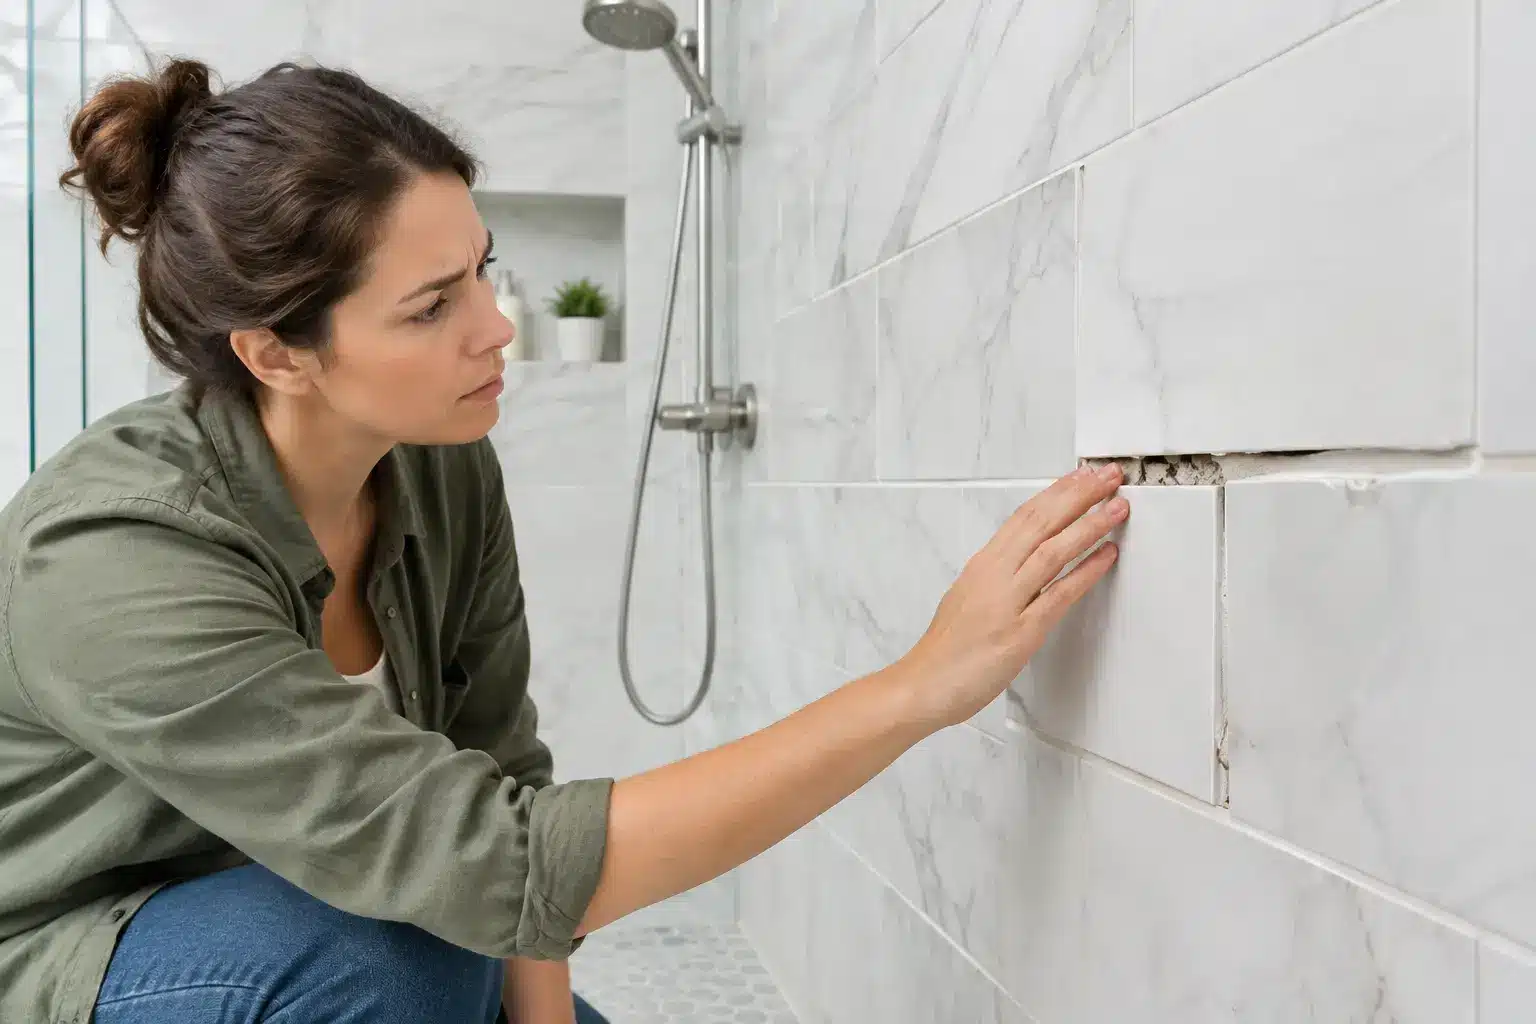
A new shower should feel solid, drain cleanly, and look intentional from every angle. If you are noticing issues soon after completion, do not assume they are normal settling. These 12 signs your new shower or tile installation was done incorrectly can point to cosmetic shortcuts, poor preparation, or more serious waterproofing concerns hidden behind the finish.
12 signs your new shower or tile installation was done incorrectly
1. Water puddles instead of draining
A shower floor must be pitched consistently toward the drain. If water collects in low spots after a normal shower, the slope may be inadequate or uneven. Standing water is more than an annoyance. It leaves mineral deposits, encourages mildew, and can eventually affect grout and tile adhesion.
A few droplets around a linear drain can occur depending on the drain cover and tile texture. Persistent puddles, especially in the center of the shower or along the walls, deserve a professional inspection.
2. Tile edges sit noticeably higher than the next tile
Some variation can occur with handmade tile, natural stone, or heavily textured materials. But on a typical porcelain or ceramic installation, neighboring tile edges should not create sharp ridges underfoot or catch a bare toe. This condition is called lippage.
Lippage often results from an uneven substrate, inconsistent mortar coverage, improper trowel technique, or an installer moving too quickly to check the plane of the surface. On a shower floor, it can also interfere with drainage and make cleaning harder.
3. Grout lines wander or change width without a design reason
Clean tile work depends on layout before installation begins. Grout joints should look deliberate, remain reasonably consistent, and align through corners, niches, and adjacent walls. Randomly narrowing joints, stair-stepping lines, or slivers of tile at the edge of a feature wall can make an expensive material look unfinished.
Not every wall is perfectly square, particularly in older Los Angeles homes. A skilled installer accounts for that condition with a thoughtful layout, balanced cuts, and clear communication before tile is set. Crooked lines are not automatically proof of a failed installation, but they are a fair reason to ask how the layout was planned.
4. Tiles sound hollow or move when pressed
Tap lightly on a wall tile with a knuckle. A slightly different sound from tile to tile is not always a problem, but a broad hollow sound can indicate poor mortar contact. If a tile shifts, clicks, or flexes when pressed, it is not properly bonded and should be addressed promptly.
In wet areas, inadequate coverage behind tile creates vulnerable spaces where water can travel if grout or caulk later fails. Replacing one isolated loose tile may be possible. Widespread hollow areas are a different concern and may require removing larger sections to assess the substrate.
5. Grout cracks keep returning
A hairline crack in grout can occasionally result from minor movement in a home, especially around a transition. Repeated cracking, crumbling joints, or grout separating from tile edges is not something to ignore. It may signal movement in the wall or floor assembly, incorrect grout selection, inadequate joint preparation, or missing movement accommodation.
Grout is not waterproofing. Sealing grout may help with stain resistance where appropriate, but it will not correct a system that is moving or allowing water behind the tile.
6. Corners and changes of plane are filled with hard grout
Where two tiled walls meet, or where a wall meets the shower floor, materials can move independently. These changes of plane generally need a flexible sealant rather than rigid grout. If the corners are grouted solid and begin cracking, that is a predictable result of movement.
A clean, color-matched caulk joint is not a shortcut when used in the correct location. It is part of a properly detailed tile assembly. The key is neat application, proper surface preparation, and the right product for a wet environment.
7. Caulk is already peeling, shrinking, or separating
Fresh caulk should form a continuous, well-adhered seal around shower corners, fixtures, glass channels, and transitions. Gaps, ragged edges, or peeling within weeks or months can mean the surfaces were damp, dusty, improperly prepared, or moving beyond what the joint can handle.
Caulk can require maintenance over time. Early failure, however, should prompt a closer look at the joint and the area behind it rather than simply applying another bead over the old one.
8. Cuts around fixtures, niches, or corners look rough
Quality tile work is most visible in the details. Open gaps around shower valves, uneven cuts at a niche, chipped tile edges, and thin strips placed in highly visible locations all suggest rushed planning or execution. Trim pieces and fixture escutcheons can cover small, intentional allowances, but they should not be used to hide oversized cuts.
Niches deserve particular attention. They need to be waterproofed, sloped slightly so water drains out, and laid out to complement the surrounding tile pattern. A beautiful shower wall can be undermined by a niche that holds water or has awkward, mismatched cuts.
9. The shower curb feels flat or slopes toward the bathroom
A shower curb should not direct water out of the shower. If water sits on top of the curb or runs toward the bathroom side, the slope is wrong. This can damage adjacent flooring, baseboards, or framing over time, even if the shower itself appears to function normally.
This issue matters even more in a curbless shower, where floor slope, drain placement, and waterproofing must work together precisely. Curbless designs can look refined and accessible, but they leave less room for installation error.
10. You see stains, white residue, or persistent discoloration early
White, chalky residue may be mineral buildup from hard water, but it can also be efflorescence, where salts migrate through grout or masonry materials as moisture moves through the assembly. Darkening grout, rust-colored marks near metal components, or stains that return after cleaning should be evaluated in context.
One surface stain is not enough to diagnose a hidden leak. But when discoloration appears with loose grout, musty odors, or moisture outside the shower, it becomes a more urgent warning sign.
11. Moisture appears outside the shower
Peeling paint on the opposite wall, swollen baseboards, staining on a ceiling below, damp flooring near the shower, or a persistent musty smell may indicate water escaping the shower system. The source could be a plumbing connection, a shower door issue, a failed drain connection, or compromised waterproofing behind the tile.
Do not wait for visible mold or major damage. A targeted moisture assessment can often identify the affected area before a small issue becomes a larger restoration project.
12. The installer cannot explain the waterproofing system
The tile is the finish layer, not the waterproof layer. A properly built shower relies on a compatible waterproofing approach beneath the tile, along with correctly detailed corners, penetrations, seams, curb transitions, and drain connections.
You do not need to be a construction expert to ask straightforward questions. What waterproofing system was used? Were the shower pan and drain connection tested before tile installation? How were the niche, curb, and plumbing penetrations sealed? Clear answers, photos, and documentation are signs of accountable work. Vague answers after the tile is installed are a reason to be cautious.
What to do if you notice a problem
Start by documenting the condition with dated photos and short videos. Note when it occurs, such as puddling after every shower or a stain that grows after use. Avoid drilling into tile or applying coatings, sealers, or new caulk over an active problem before the cause is understood. Those temporary measures can make later diagnosis more difficult.
Then arrange an evaluation with a licensed contractor experienced in bathroom remodeling and water-damage conditions. The right repair depends on the issue. A failed caulk joint or isolated loose tile may have a limited repair path. Drainage failures, widespread bonding problems, and suspected waterproofing defects may require selective demolition or a full shower rebuild to protect the home properly.
A shower should give you confidence, not a growing list of workarounds. Precise Building & Restoration can assess questionable shower and tile work, explain practical repair options, and help you move forward with clear expectations. Call Us Now at 310-606-2222.